Join us in making a lasting impact by supporting our mission to empower individuals and communities.
Donate NowBeneficiaries
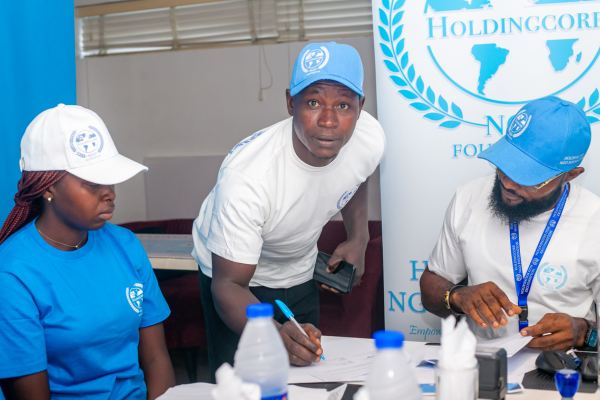
Volunteers
Our Goal
At Holdingcore Empowerment Foundation, our vision is to empower the innermost portions of the world
where vulnerable individuals and families can break the cycle of poverty through entrepreneurship,
self-reliance, and sustainable growth.
We aspire to create thriving communities where knowledge, skills, and resources drive economic and
social transformation, fostering a more equitable and hopeful global society.

We are dedicated to restoring hope, dignity, and opportunity to those in need. We believe every life has value, and no one should be left behind in pursuing a brighter, equitable future.
Together with our supporters and partners, we are building a world where everyone has the chance to thrive.
Poverty robs individuals of their ability to dream, plan, and build a future. We fight for economic empowerment by equipping people with tools, funding, and skills to create sustainable livelihoods.
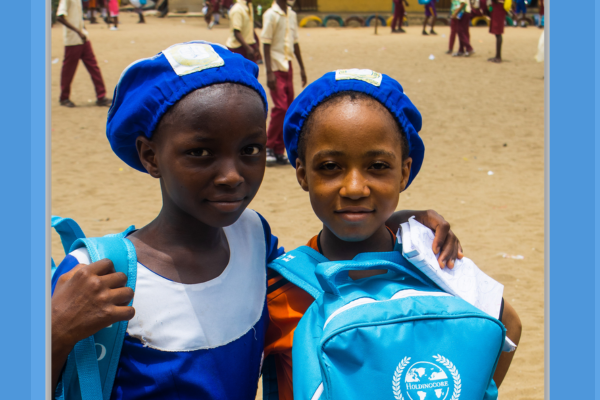
Education is a powerful tool for change, but countless children and young adults are held back by barriers to learning. We fight for their right to quality education, supporting students with resources and scholarships to secure a brighter future.
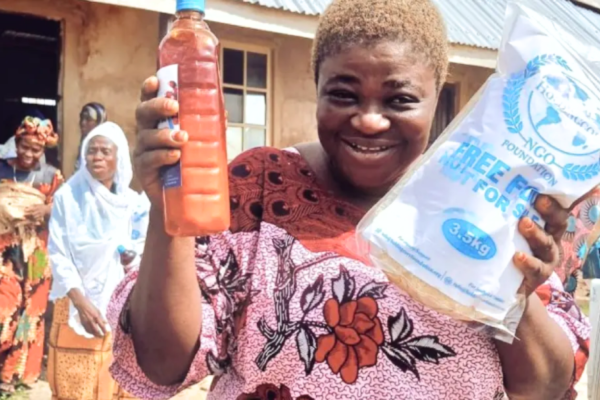
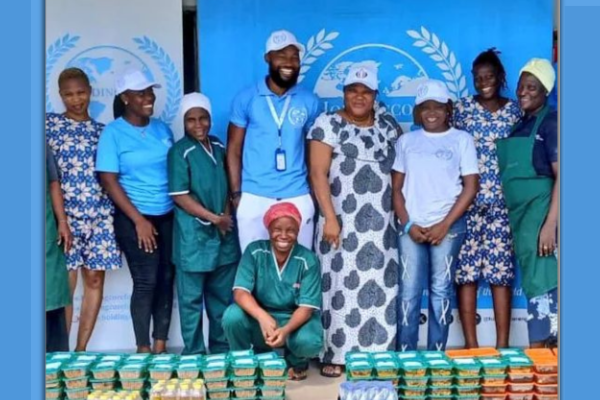
Hunger is a reality for too many, and it hinders physical, mental, and emotional well-being. We fight to ensure that no one has to go to bed hungry by providing food relief to vulnerable populations.
Every community has untapped potential waiting to be nurtured. We fight to empower aspiring entrepreneurs with the tools and support needed to turn their ideas into thriving businesses.
Everyone deserves the chance to live with dignity and pursue opportunities for a better life. Through initiatives like our Migrant Work Program and ride-hailing empowerment, we fight to provide meaningful work and financial independence to individuals and families.
Beyond material support, we fight to rekindle hope in the hearts of those who feel forgotten. Through compassion, advocacy, and action, we aim to transform lives and inspire resilience.
Testimonial
I never knew that my dream of owning a business would come true, but thanks to Holdingcore Foundation, it did. Winning the 500,000 startup grant helped me buy all the baking equipment and ingredients I needed to start Charite's Cake & Confectioneries. Today, I’m not only a business owner but also able to cater to some of my school expenses while pursuing my passion. I’m deeply grateful to Holdingcore Foundation and Sir Hope for making this possible. They truly changed my life.
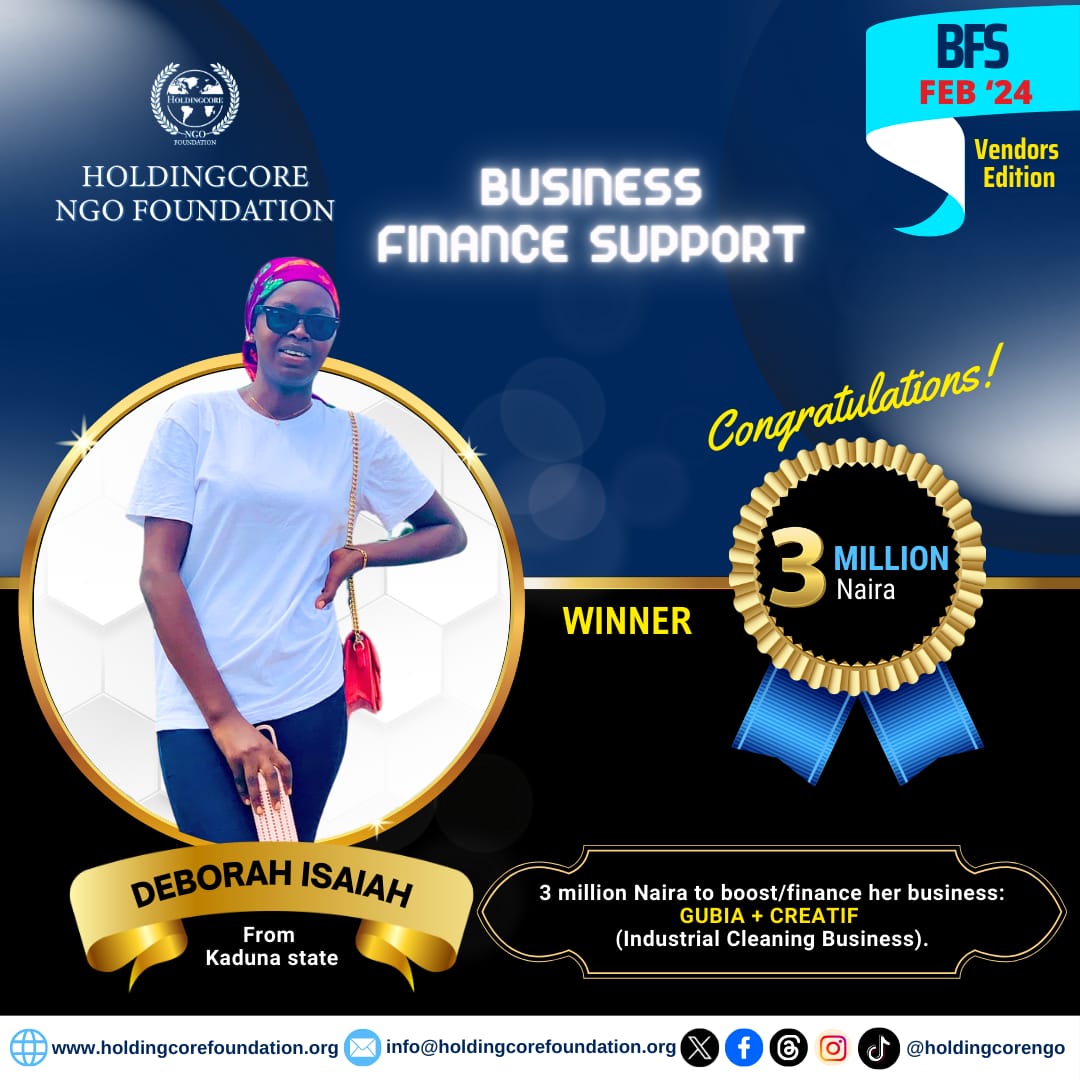
The 3,000,000 Naira grant from Holdingcore NGO transformed my passion for cleaning into an official business. Starting my cleaning company was a dream, but challenges with school and finances made it tough. Thanks to the grant, I’ve been able to clean numerous homes and workspaces, expand my customer reach, and even take on projects outside Kaduna, including Abuja and Benin. I’m deeply grateful to Holdingcore for their life-changing support and commitment to empowering lives. May God continue to bless and increase them.

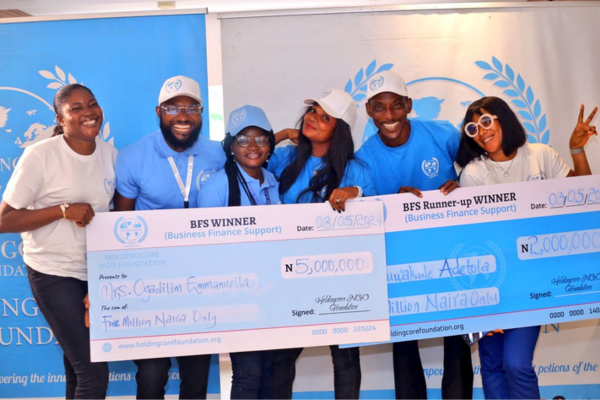
Receiving the 5,000,000 Naira BFS support from Holdingcore Foundation was a turning point for my business, Ellaap Enterprises. Before the grant, I struggled to keep my business running, especially with a failing deep freezer. With the support, I purchased my dream freezer, which not only revived my food business but also opened new opportunities like catering jobs and managing a tricycle for extra income. I’m incredibly grateful to Sir Hope Anike and the Holdingcore team for giving me a second chance to succeed. This rare privilege has brought growth to my business and joy to my family. Thank you for making 2024 a beautiful year for us.

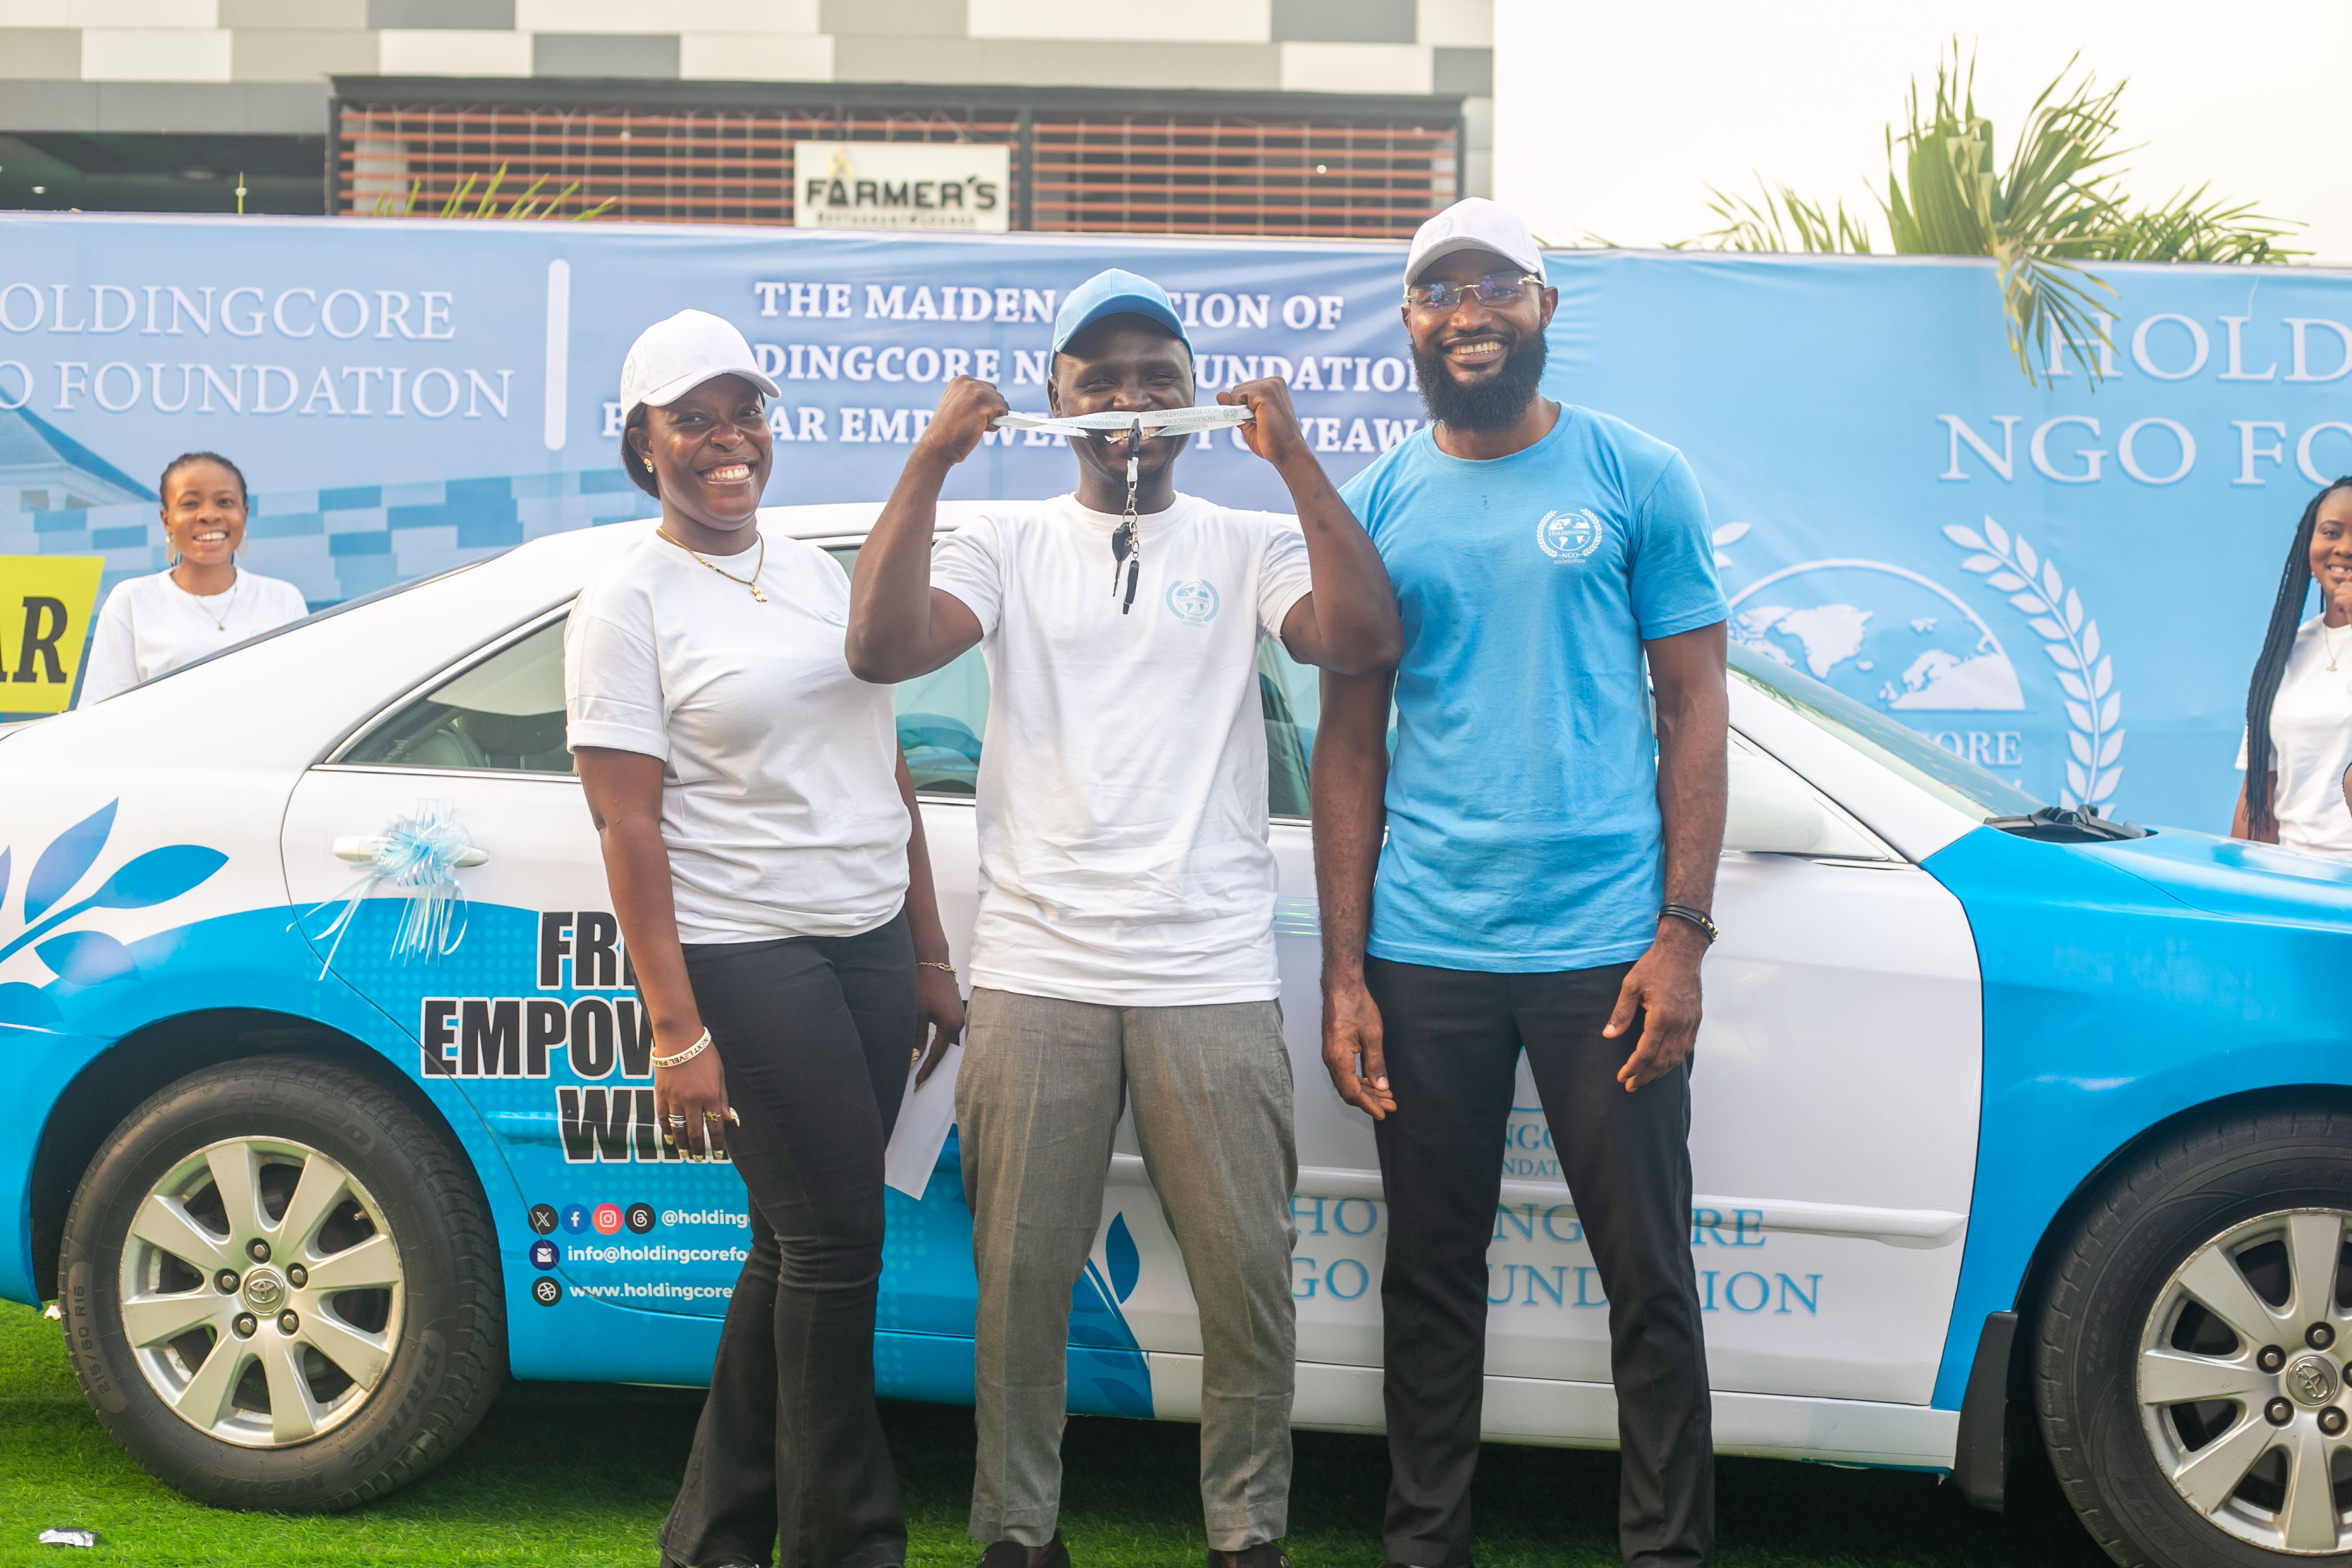
Winning the Holdingcore NGO Foundation’s Car Empowerment Program was life-changing. It turned my long-held dream of owning a car into reality, providing me with a source of income and the opportunity to pursue my passion for driving through a ride-hailing business. This foundation has not only uplifted me but also inspired countless others with its impactful work. I am forever grateful to Sir Hope Hopeworth and the entire Holdingcore team for their generosity and dedication. Their support proves that dreams can come true with hope and perseverance.
For inquiries, partnerships, or to learn more about our programs, reach out to us:
Empowering the innermost portions of the world by uplifting underserved communities through education, financial support, and essential resources, fostering growth and resilience across Nigeria
© Copyright Holdingcore NGO Foundation , All Rights Reserved.
Designed By Cyjust Deals